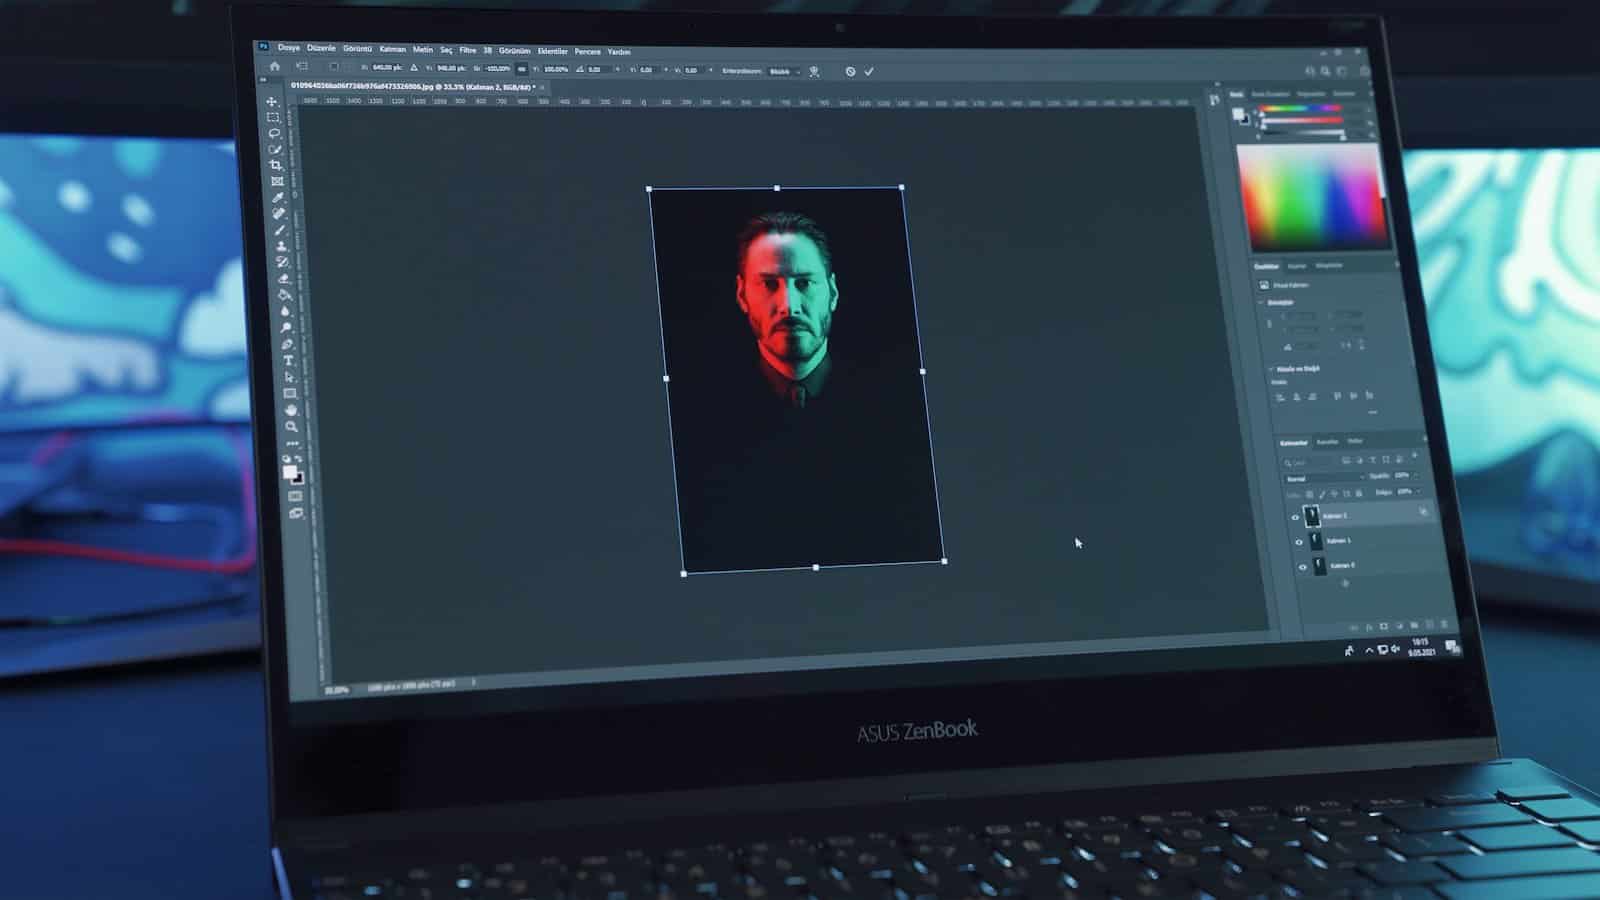
Creating an engaging and effective website banner is a crucial component of digital marketing strategy, serving as a digital handshake between a brand and its potential customers. These banners are the visual storytellers of the online world, blending aesthetics with strategic messaging to create a seamless user experience. Leveraging Adobe Photoshop for banner creation allows for unparalleled creativity and customization, making it possible for digital marketers, web designers, graphic designers, and small business owners to convey their messages effectively and beautifully.
The significance of website banners extends beyond mere decoration; they are a key player in digital marketing campaigns, driving traffic, and enhancing brand awareness. With the right design strategy, a banner can captivate the audience, making a lasting impression that encourages interaction and conversion. This guide, designed for both beginners and intermediate users, aims to demystify the process of creating a website banner in Photoshop, providing you with the knowledge and tools to design banners that stand out in the crowded digital landscape.
Step-by-Step Guide: Creating Impactful Website Banners in Photoshop
Planning Your Banner
Before diving into Photoshop, it’s essential to plan your banner. Consider the goal of your banner (e.g., promoting a product, announcing an event, driving traffic to a landing page) and the message you want to convey. This initial planning stage is crucial for determining the content, imagery, and call-to-action (CTA) that will make your banner both engaging and effective.
- Initiate Your Project: Open Photoshop and create a new document. Select a size that fits your website’s layout and intended placement for the banner. Although the standard size is 728×90 pixels, dimensions might vary depending on your specific needs.
- Choose a Captivating Background: The background can significantly impact the overall look and feel of your banner. Opt for a solid color, a gradient, or a high-quality image that complements your message. Remember, the background should not overpower the text or graphics but rather enhance their visibility.
- Incorporate Striking Imagery: Images are a powerful way to draw attention and convey your message quickly. Select high-quality, relevant images and use Photoshop’s tools to integrate them seamlessly into your design. For those looking to delve deeper into custom graphics, a Photoshop Adobe course can provide advanced techniques and insights.
- Add Text with Impact: The choice of font, size, and color of your text can significantly affect the banner’s readability and effectiveness. Use concise, action-oriented language and ensure the text is easily readable against the background.
- Embellish with Design Elements: Elements such as logos, icons, or shapes can enhance your banner’s visual appeal and clarity. Incorporating a good logo design can also boost brand recognition.
- Craft a Compelling Call to Action (CTA): Your CTA is the heart of your banner, guiding users towards the desired action. Make it prominent and persuasive to maximize engagement and conversion.
- Refine and Review: Utilize Photoshop’s array of tools to adjust and perfect your banner. Focus on alignment, spacing, and overall harmony to ensure a professional appearance.
- Export Your Banner: Choose a web-friendly format such as PNG or JPEG for exporting your banner, balancing quality and file size for optimal web performance.
Web Banner Design Tips and Best Practices
Creating a website banner that effectively captures and retains viewer attention requires a blend of creativity, strategic planning, and technical prowess. Here are some essential tips and best practices to guide your design process:
- Focus on Simplicity: A cluttered banner can distract and overwhelm viewers. Aim for a clean, simple design that communicates your message clearly and concisely.
- Ensure Consistency: Your banner should align with your brand’s visual identity, using consistent colors, fonts, and styles to foster brand recognition and trust.
- Optimize for Load Time: High-quality images and graphics can enhance your banner’s appeal but be mindful of file sizes to ensure your website’s load time is not adversely affected.
- Test and Iterate: Design preferences and effectiveness can vary among different audiences. Consider A/B testing different banner designs to identify what works best for your target demographic.
- Stay Updated with Design Trends: The digital landscape is constantly evolving, and staying abreast of the latest design trends can keep your banners fresh and relevant.
Conclusion
Creating a website banner in Photoshop is a journey of creativity and precision. By following this guide, you’re not just designing a banner; you’re crafting a digital experience designed to captivate and engage your audience. Remember, the most effective banners blend aesthetics with functionality, creating a seamless bridge between the viewer and your brand’s message. Dive into the world of Photoshop banner design, and unlock the potential to transform your digital marketing strategy.