Web design is one of the most important aspects of attracting and engaging your website visitors. According to statistics, good website design can improve your YoY (Year-over-Year) revenue by 132% and time spent on the website by 84%.
An easy way to improve your website’s design is to upload captivating photos, and this can be achieved using Midjourney. In this article, we’ll discuss a detailed, step-by-step process, explaining how to use this AI-powered tool effectively.
What is Midjourney Anyway?
Before getting into the details of the process of using Midjourney for image creation, it’s important to understand what this tool actually is.
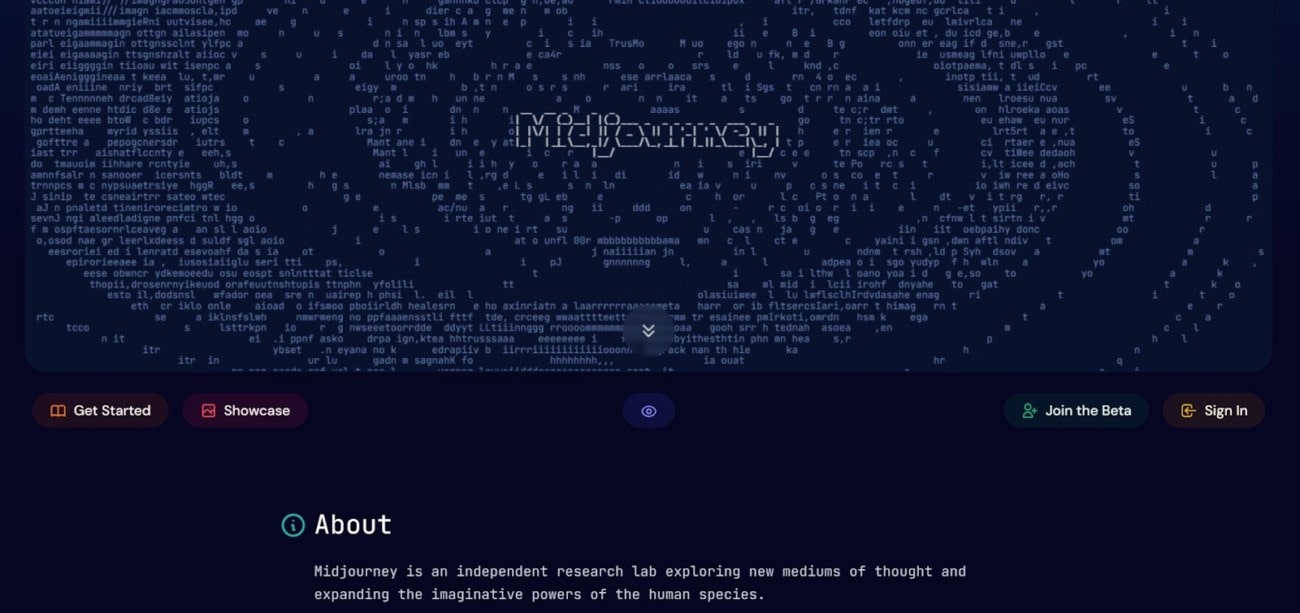
In simple words, Midjourney is a generative AI tool that analyzes natural language prompts and converts them into images. Currently, this tool can only be used through the official Midjourney’s Discord channel or a Discord bot.
So, if you’re familiar with Discord, you’ll find it pretty easy to use this tool. But if you’ve never used this platform before, don’t fret because our detailed guide will help you understand the entire process.
Step-by-Step Process of Midjourney’s AI Image Generation
Here’s a list of all the steps that you need to follow in order to use Midjourney for AI image creation.
Step 1: Join Discord
The first step is to join Discord, which is a chat app, designed for gamers to collaborate. All you need is to go to the official Discord website, and create a new account (if you have one, then log in).
Step 2: Subscribe to Midjourney
Once you have signed into Discord, go to the official Midjourney website, and click on the “Join the Beta” option. It’ll generate a small pop-up with the “Accept Invite” button, asking you to click on it. Doing so will lead you to the Midjourney’s Discord channel.
On this page, you’ll be able to see multiple chat rooms, and you’ll need to join the one that starts with “#newbies-#”, Instead of “# character”, you’ll see a specific number.
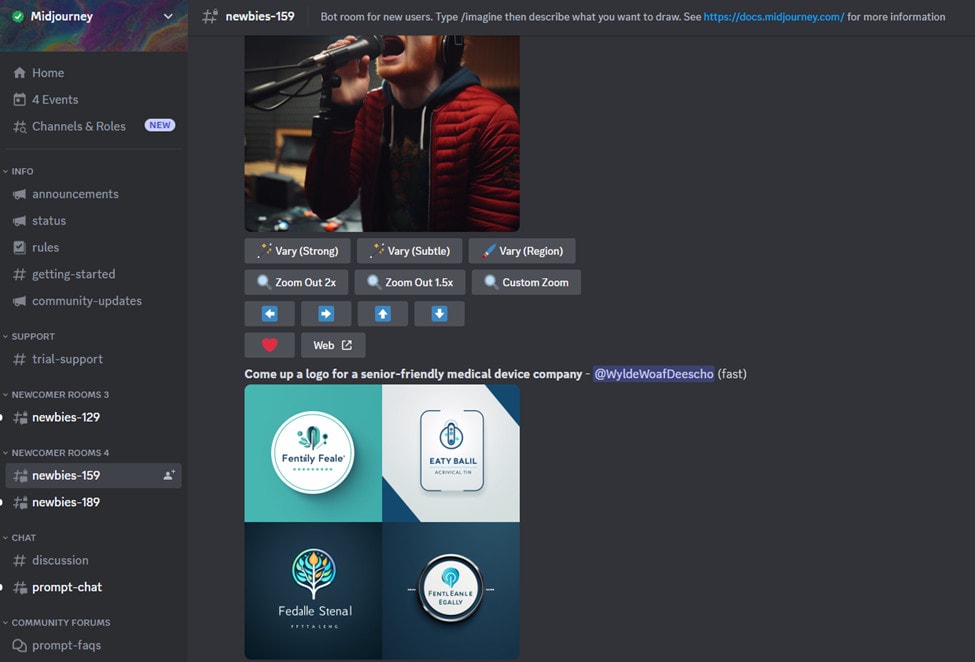
Once you’re inside the room, you’ll need to type “/subscribe” in the message field and press enter. It’s one of the flash commands that you can use to interact with Midjourney.
The “subscribe” command will create a special link, and clicking on it will lead you to another web page, with multiple subscription models, including “Basic”, “Standard”, “Pro”, and “Mega”.
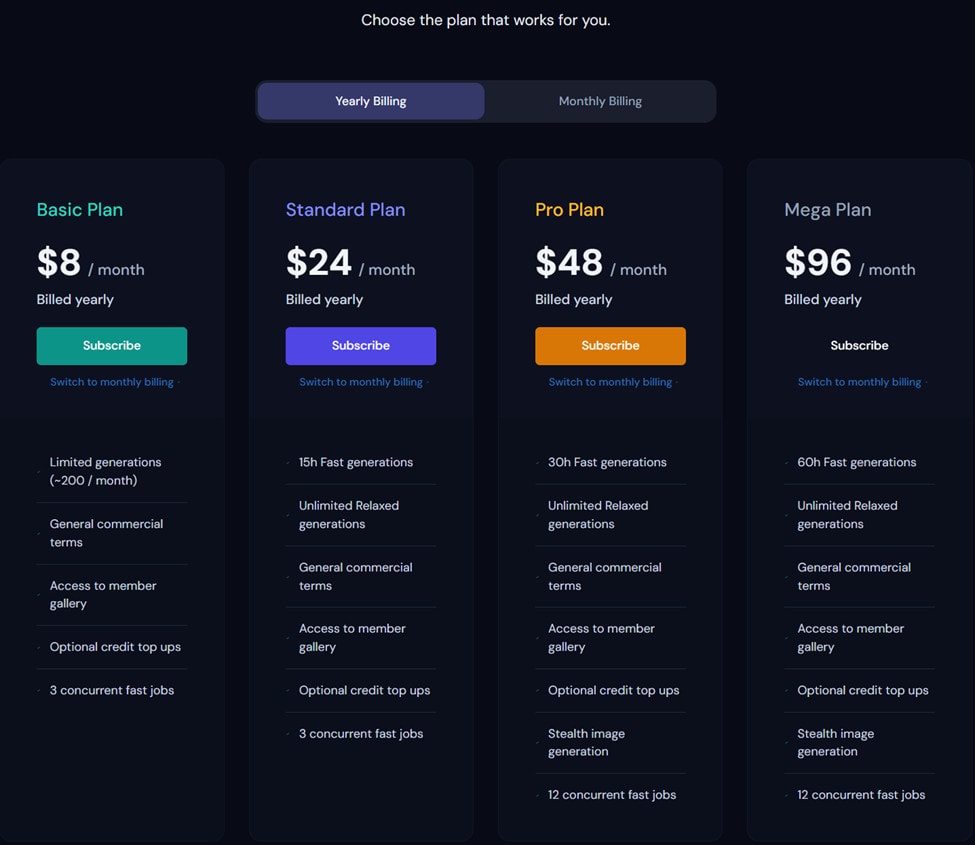
At this point, all you need is to select the desired subscription and pay for it.
Step 3: Start Image Generation
After completing the payment process, head back to the channel you joined to start creating your first Midjourney image.
Start typing “/imagine” in the message field, which will show you the slash command prompt with the same text, as shown below.

Clicking on it will select this command, and the message box will ask you to enter your prompt.

Here, you’ll need to type whatever you want, such as:
- Design an image to promote an upcoming music festival with the text ‘Get Ready to Rock!’ and vibrant, dynamic visuals.
- Generate an image for a tech blog post with the text ‘The Future of AI Technology’ in a futuristic and tech-inspired style.
- Design a call-to-action image for a website’s newsletter signup section with the text ‘Stay Informed, Join Us Today’ in an inviting and friendly design.
These are just example prompts for inspiration.
Once you have written the command, hit enter and wait for a couple of seconds to let the tool start creating your image. You’ll be able to see the creation process in real-time, as the picture becomes clearer.
Within a minute or so, the entire image will be created, and you’ll receive it with four different variations to choose from.
Step 4: Customize Your Image
Midjourney is one of the best AI image-creation tools that generates great results by default. However, it also allows you to customize your images once they’re created.
Here’s a list of different ways you can customize your image using Midjourney.
- Upscaling: Under each result that Midjourney creates, there are several buttons, including the ones with “U1”, “U2”, “U3”, and “U4” labels. These buttons are basically upscaling options, and selecting any of these will upscale the corresponding image by adding more details.
- Redo Image: Midjourney offers a “reroll” button under each result as well. Clicking on it will create a new set of 4 images, with a fresh look, using the same prompt you provided.
- Variations: You’ll also see another set of 4 buttons under each result, with “V1”, “V2”, “V3”, and “V4” labels. These buttons allow you to generate different variations of the generated images.
If you use any of the “U” buttons to select the image, the tool will offer some more functions.
- Vary (Subtle) and Vary (Strong): These functions also create four different variations each.
- Zoom Out 1.5x and Zoom Out 2x: Zoom the image out.
- Custom Zoom: Zoom your image by adding more content based on your prompt and previous results.
- Arrow Button: Each arrow button expands the picture in the selected direction based on previous information and results.
- Make Square: Turns the photo into a square crop.
Other Commands
The following are additional commands that can enhance your efficiency when using Midjourney.
- Upload multiple images and use the “/blend” command to merge them into one.
- Type “/shorten” and then write your prompt to get concise prompts for the same information.
- The “/settings” prompt allows you to select different modes of Midjourney.
- The “-ar” command allows you to select the desired aspect ratio, like “-ar 16:9”. By default, all photos have a resolution of 1024 x 1024 pixels.
There are many other Midjourney commands, and learning them will allow you to use the tool most effectively.
Final Words
Midjourney is an excellent AI image-generation tool that allows you to create photos using simple natural language prompts. Not only does it provide stunning results but it can also help you save a whole lot of time to create engaging images and improve your web design.
So, if you’re planning to use Midjourney, make sure that you follow the steps listed in this guide to get started with this tool easily.